January 30, 2011

Grilled eggplant with vino cotto


A few months ago, right before Christmas actually, I joined a new pilates studio. It's my neighbour's new career move. I love pilates and like to support local businesses so I decided to join and try for a healthier new lifestyle for 2011 (not to mention helping a new start-up business). Part of this new lifestyle change was to eat healthy, yummy foods (that really hasn't changed for the past 5 years!) and to get involved with my community a little more.
 I think it's time I put a little more effort into the area I live in and get to know a few locals seeing as there are no plans for us to pack up and move across the other side of the world anytime soon.

This I have to tell you is something new to my family. This year is the first year Max gets to go to the same school in two consecutive years- he is very happy about starting Grade 4 with friends!
Alex starts Kindergarten at the same school and is totally beside himself that he'll be seeing his brother at the same school, I'm just not so sure Max is as keen but that is what having a sibling is all about.

 I remember seeing my big sister at High School on my first day. She told me to stay away and pretend we didn't know each other. Brutal but we all had to survive the teen years as best we knew how. I managed to entertain myself quite fine, though couldn't help but go over to her and say 'Hi' when she was sitting at her 'tree' with her group.....I'm the youngest and was more outgoing than she, so I didn't give two hoots when her friends would say something about me, something I never understood her getting so mad about?
I am sure Max and Alex will have their own difficulties to work through, however, I'm not to concerned about it, after all Tarsh and I turned out OK and the best of friends.

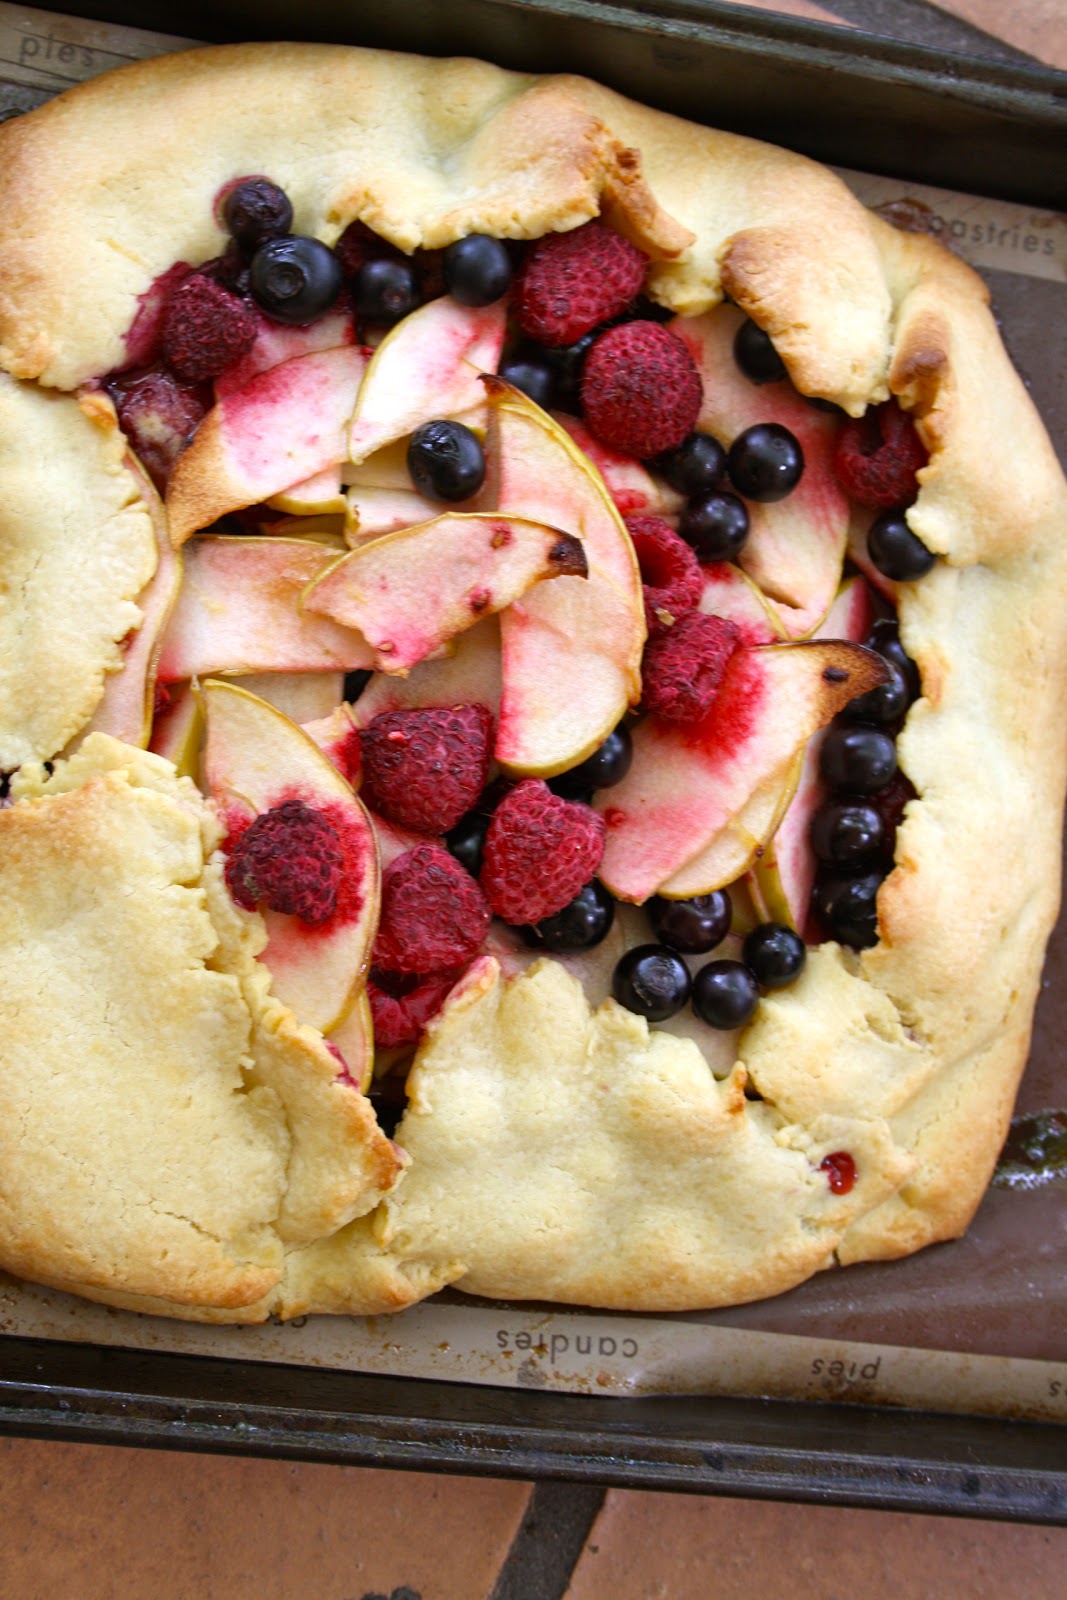
Right, back to healthy and delicious meals!

Maggie Beer, celebrity chef in Australia popped into the Sydney cooking school kitchen in December to test out one of our fabulous Fisher&Paykel ovens for her home. I was beside myself at getting the chance to meet her. I have been a fan of her cooking and food style for years. When she came in, one of her dishes she wanted to trial was grilling eggplants.
"I just love cooking them this way" she says with a beautiful smile continually radiating from her. "You must try them with some of my vino cotto...."

Try I did and I haven't looked back since! Such a simple, not to mention quick and mess free way to cook eggplant that I now use this method over any other these days.
You simply turn on your grill to full heat, cut the eggplant into rounds, lightly brush with vino cotto, season with salt and pepper then pop them under the grill until browned and the eggplant is cooked.
Each time I have used this method, it takes a maximum of 8 minutes! The vino cotto gives the eggplant a beautiful sweet, yet tart flavour and is paired beautifully with any type of lamb. For dinner on this occasion I made some Jasmine rice, grilled some delicious lamb skewers and then served with steamed broccolini that was drizzled in lemon juice and olive oil which compliments the eggplant perfectly.

A delicious, quick and healthy meal I will be coming back to again. I have to confess the boys did see the eggplant and complained bitterly of their hate of the vegetable, however I put them out of their misery and told then I wouldn't waste it on them and they were getting extra servings of broccolini and peas instead.

January 26, 2011

Pumpkin & chickpea dip on Australia Day


It's hot, humid and Australia Day.
I remember it being the same way this time last year too. What better way to show our patriotism than pack a picnic, dust off the boogie boards, jump in the car (minus stereo and a/c- not happy!) and join the thousands of Aussies that head to the beach to celebrate living in this beautiful country. As far as I remember, Australia Day is all about kicking back with friends, eating good food and knocking off a few coldies (beers) at the beach, in a park, anywhere out in the great outdoors where fun can be had.

I was flicking through a few of my favourite blogs this morning trying to come up with something to eat with the chicken I roasted. I had in my mind, cold lemon and oregano roast chicken served with crusty bread, a chunk of brie, cold beer and....????? Veggie Mama had just blogged about pumpkin scones which I do love, but I had just popped a lemon and blueberry butter cake in the oven (recipe coming soon) for our afternoon tea so I went with the pumpkin idea but just in a different light.

I needed a salad of some sort, however, we were going to the beach and I could just see sand getting flicked into it before even eating it! What else to do with pumpkin.......turn into a dip of course. I had some fabulous little cherry tomatoes sitting on the counter so I decided to go with the veggie theme and do a classic 1970's veggie stick with dip scenario.


I have to tell you, it worked a treat and Alex even had a few dips into the pumpkin dip (a vegetable he would usually poke his tongue out at). Our lovely friend Tanya made a delicious mushroom and bacon quiche which had a beautiful buttery pastry crust that complimented the lunch perfectly.
A great day was had by all. Our bellies were full, the sun was shining and I managed a sand free lunch, so lovin' the veggie sticks and dip idea.


Pumpkin chickpea and vino cotto dip
1 tin chickpeas, drained
1 garlic clove, minced
1 tablespoon fresh oregano leaves
400 grams pumpkin, peeled and pre-boiled
1 tablespoon vino cotto
juice of half a lemon
1 tablespoon extra virgin olive oil
salt and pepper to taste

In a food processor add chickpeas, garlic and oregano leaves. Blend for 10 seconds.
Add cooked pumpkin, vino cotto, lemon juice and olive oil.
Blend until well combined.
Scrape down the sides of bowl, season with salt and pepper, blend again and then serve with veggie sticks.
Note: Leave for flavours to meld for at least 1 hour for excellent results.

January 20, 2011

Apple and berry Galette


I got a phone call from my dear friend and old neighbour last weekend asking if I wanted to come over with the boys for a BBQ? I think it took me all of about 5 seconds to say YES!

I love a good outdoor BBQ and I love it even more with great friends and food. As always she tells me 'It won't be much......just a couple of salads and some meat and sausages'. The fact that she even invites me is awesome in my books. Sadly one of the down sides of being a chef is the lack of dinner invites you receive. People usually say, 'I'd never invite you to dinner, I'd be to nervous' or 'You must be really picky with peoples cooking..'

News flash people- If you put a plate of food in front of a friend/chef that they didn't have to think about, cook or  even enter a kitchen  before eating then 9 times out of 10 they/I will love you for it.
 I gotta love Megs, she use to say things like this to me before we really knew each other, however, she would always follow through with, 'but I'll invite you anyway' and for that I just love her.

I've been on a bit of a sausage craze at the moment. Not quite sure why this is but I decided to make a dessert to bring seeing as sausages don't really get anyone excited at a barbie...and when you've been invited to a BBQ it has always been drummed into me that you must bring a plate of something.
Originally I was going to make a pavlova (who doesn't love a pav?) but as the day progressed the sun got hotter and hotter, our car no longer has air conditioning and it was a 30 minute drive out to our old neighbourhood so I was thinking all I'd have left to show would be a great big pile of melted cream and sugar on a platter with berries floating around in it!
The heat made me think of a galette. I could use all the berries I had bought and still make it look fabulous without the headache of it melting. The dough is a wonderful recipe that only takes about 2 minutes to whip up in the food processor. You then need to pop it in the fridge to cool for about 30 minutes before rolling it out, putting the filling on top and pulling up the sides to keep it all in place- EASY!
The galette was well received and devoured by all. My boys were disappointed I didn't save any for them but I hardly felt bad because minutes before they were sitting on the back lawn chowing down on ice creams and chocolate.
As I told them, I'm sure I'll be making it again and again because  a) it was so easy b) I got to add my new favourite ingredient to the mixture -argave syrup and c) it's a perfect dessert for summer and winter!

Galette dough

1 and a half cups plain flour
half a teaspoon salt
4 tablespoons powdered sugar (icing sugar)
 Put above ingredients into food processor and blend 5 sec.


Add 4oz (124grams) of cubed cold butter and process until coarse breadcrumbs.


In a separate bowl mix
 3 egg yolks
1 tsp vanilla essence
1 tablespoon ice cold water
While the motor is running add above ingredients to the food processor and process until it just holds.
Remove and kneed dough lightly on bench.
Wrap in plastic wrap and put in cooler for an hour.


Apple berry and argave Galette 


2 tablespoons raw sugar
1 punnet raspberries
1 punnet blueberries
1 granny smith apple, thinly sliced
1 tablespoon argave syrup
zest of one lemon
1 quantity dough

Roll out dough on glad wrap into a circle or triangle shape about 40 cm diameter.
Place grease proof paper onto an oven tray then slide on your rolled out pastry, removing the glad wrap.


Sprinkle with raw sugar in the middle, leaving an inch around the side for folding.
In a small bowl add apple, lemon, argave and ¾ of blueberries and raspberries.
Fold to combine then pour into centre of pastry.
Fold the sides of the pastry around the apple and berry mould, making a collar for the fruit.
Add remaining raspberries and blueberries to t he top of galette for added colour.


Press the sides to secure your pie structure then place in the fridge to let pastry harden once again (approx 15 minutes)
Preheat oven to 180ÂșC (350).
Place galette tray into oven for 20 minutes or until pastry is lightly browned and fruit is bubbling.
Remove from oven cool then serve with Double thickened cream, custard or ice cream


January 17, 2011

All in the kitchen....and on the billy cart


Christmas just gone brought a few 'firsts' to my family; It was the first time Alex (my youngest) went to Tasmania, it was the first Christmas I have spent with my family since having kids and it was the first time I rode a billy cart my dad built!
Anyone who tells you having kids is all hard work and yelling, I give you permission to give them a raspberry. When dad first found out we were bring the boys home for Christmas I am sure the first thing he did was go down to the shed and start work on the billy cart. Over the months toward Christmas, Max and Alex added to dads list of chores when it came to building the billy cart "Can we have fast stripes?", "I want it to be red...no green......no red!"

I wasn't quite sure what I was more excited about, cooking in mums fabulous kitchen while sipping champagne and eating berry brioche while basting the ham; eating mums warmed crayfish that was lightly tossed in a delicious white sauce or having a go on the billy cart?


There was one thing I never had any doubt about and that was the Christmas day spread. Seeing how it was the first Christmas mum was able to have in her own home since we left for the States over 8-9 years ago, I knew we were in for a treat.

If the boys ever felt peckish while waiting for breakfast/lunch or dinner mum would show them where all her baking treats were kept- lemon slices, mince tarts, hedgehog, snowman cookies, shortbread Christmas trees...shall I go on? I'd be lying if I told you it was only the boys who got into that cupboard, hence the reason I am now going to the gym 4 days a week.

That's right, we ate ourselves into a stupor!! When living over in the Chicago, I would ring mum, dad and my sister on Christmas day while the turkey was in my oven and the snow gently falling outside and I would listen to them popping champagne, talking about the beautiful sunny day that was ahead of them not to mention the up and coming crays they managed to get for Christmas day lunch- I was envious. Now, I do love a good turkey but green would be my colour, I just couldn't help it. So when mum prepared these for our entree I felt like I had finally arrived. The sweet cray meat, lightly tossed in a garlic and lemon white sauce was the perfect way to start our holiday feasting and I have to tell you I loved every mouthful and prayed the boys wouldn't like theres.
Of course I was dreaming when it came to Max, he was looking for seconds just like his mum....thank goodness Alex hasn't got his gourmet taste buds yet!


I managed to get my cake and eat it too. Playing in the kitchen- fabulous!
Having a go on the billy cart before the wheels fell off due to too many rides from the bigger kids- priceless!

Even though the holidays are now over, at least I have these memories of a wonderful family gathering the only way to celebrate with good food, wine and a billy cart for those of us who are still big kids.

January 14, 2011

Honeycomb for holiday fun


I'm back!!
It is January 14th, 2011 and I am FINALLY sitting down to blog once again. I do apologise for my absence since, dare I say it, early December!
  It was out of my control because I found out the hard way; I'm NOT superwoman, nor am I a super mum.
I always knew December was going to be busy, however, I didn't anticipate working 10-15 hour days, seven days a week plus trying to keep my family life in tack. Those rare days I finished work after a ten hour day and I didn't have to do a Christmas party, I would plonk myself on the couch with my family and veg out. Hopping onto a computer was the last thing I could ask of myself.

Anyway, after a fabulous holiday with my sister and the boys (hubby off in Italy 'working')  I feel rested, relaxed and ready for the new year.

I wasn't to sure what to blog first. I have been doing some great things in the kitchen, and I even managed to photograph a few of the dishes prepared. However, my timing is all up the creek so I am going to back date for a while, I really loved the recipes so bare with me!

It was the night before Max's last day of school and I was flat out with functions all week. It wasn't until I arrived home from picking them up from school the previous day that he reminds me at around 5 o'clock, "Mum, you PROMISED to make honeycomb for my end of year party"
Where I reply- "yes,yes, no worries......when is it?"
Max- "TOMORROW!!!" (as you can see, my kids were kind of over the fact that I was only at home for snippets of their life in December!)

A promise is a promise, so I dragged my sorry butt from the couch and began the process. Actually I have to admit is was fun. I got the boys into help with the chocolate dipping and then they put their own spin on it with sprinkles. In the end, I think they had more chocolate on them, then on the actual honeycomb but it was worth it. They looked so good I made another batch and gave it away to my clients as gifts and the response was fantastic.

If your stuck inside due to wintery conditions or like us, in the middle of the summer school holidays, honeycomb is a great activity to do with the kids. I advise an adult makes the actual honeycomb due to the sugar being extremely hot, but everything else the kids can manage....just don't expect your kitchen to remain chocolate free for a few days!


Honeycomb recipe

400grams castor sugar
100grams light honey
250grams liquid glucose
100ml water
1tablespoon bicarb soda

Put sugar, honey, glucose and water in a pot and bring to the boil.
Cook over a high heat until golden brown (150 degree on sugar thermometer)
Add bicarb and whisk quickly
Pour onto silicon paper and let set for 15-20 min or until cold
Once cool, snap by breaking with your hands, it will break into shards, so break into as many pieces as you like.


Once broken, melt down white chocolate and dip one side of the honeycomb in until covered. Wipe off excess chocolate and place on a rack to dry completely before dipping the other side in dark chocolate.
Note: Honeycomb HAS to be completely covered for it to last- air is it's enemy!
Store in an air tight container, DO NOT PUT IN FRIDGE.
Should last for two weeks but it usually gets eaten well before then.


  I think this was their favourite part!